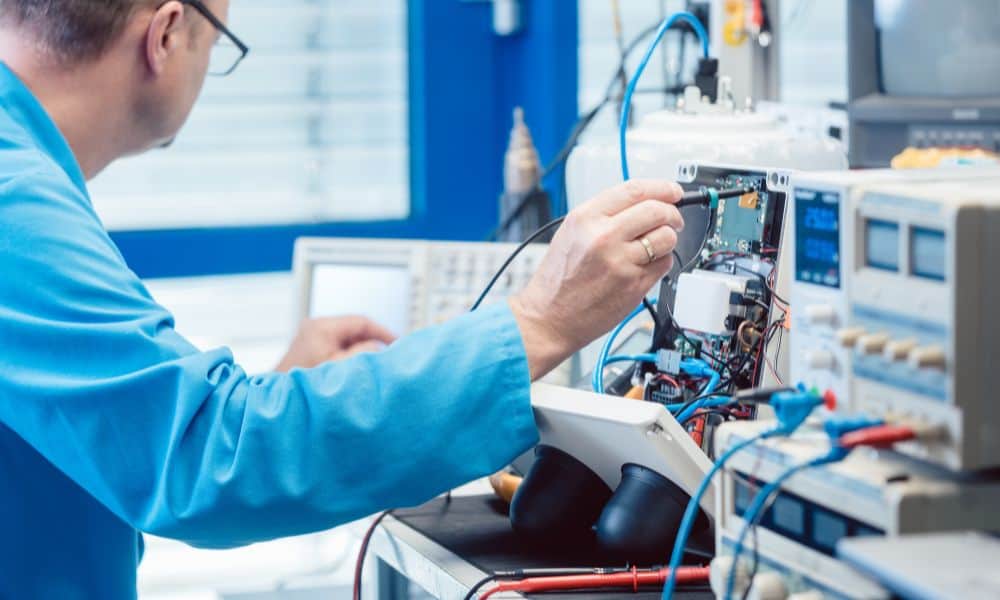
Troubleshooting is essential in any industry, even with regular checks and maintenance of your equipment. This is especially true when working with devices as delicate and precise as laser diodes. The smallest error can dramatically compound into something worse. Continue reading to learn five tips for troubleshooting laser diode hardware.
Check the Connections
Cables and connectors are often the cause of poor performance or outright failures in laser diode systems. A loose connector or frayed wire can create intermittent contacts and even damage your laser diode. Confirm connectors are fully seated, all retaining screws are tight, and avoid tight bends that can deform and damage the internal insulation of the cable. It’s also good to visually inspect the full length of all cables to ensure they have no nicks or cuts.
Check the Laser Diode Driver
Once you know your connections are good, make sure the laser driver is in good working order and reporting the readings you would expect for that type of laser. Good laser drivers include voltage, photodiode current measurement circuits, and current limits to prevent overdrive. Check your laser’s data sheet for the maximum operating current, and confirm the current limit is set accordingly. Also, ensure the laser diode is producing the expected voltage and photodiode current at its operating point.
Check the Optical Power
Damaged lasers typically result in a loss in power, sometimes partially but often catastrophically. Use an optical power meter to confirm the output power of your laser before it enters the rest of your optical system. Damaged lasers may operate at the normal voltage but produce little to no light. If your application is sensitive to the spectral performance of the light, you may also need to use a wavelength meter or spectrometer to evaluate the quality of the light output.
Make sure to use appropriate laser safety equipment when testing the laser!
Laser Diode Mount
The mount ensures your laser diode operates within its intended temperature range. Poor thermal interface, broken fans, or loose screws can all result in your laser diode operating at higher temperatures that could damage or destroy the laser. Make sure the contact surface between your laser diode and the mount is clean, flat, and clear of nicks that could prevent good contact. If you’re using thermal grease, make sure it is evenly and thinly applied and without any gaps. Tighten screws equally to ensure even force. If your mount has a fan, make sure it’s working! A broken fan will invariably lead to overheating.
Temperature Control
Proper mounting, as noted above, is important. Further, if your laser diode requires active temperature control, verify the temperature controller can handle the full range of operating conditions and thermal loading from the laser, typically worst at the lowest operating temperature and highest laser power. Failure to maintain temperature can lead to laser damage, and temperature instability directly impacts the performance of the laser diode. Confirm the current limit is set at or below the limits of the mount or laser diode, and verify temperature limits are also set appropriately.
Nothing Is Perfect
After troubleshooting these parameters, make note of your findings for future reference, as problems often repeat themselves. You may also find that portions of your system are damaged or inadequate for your application. Keep this troubleshooting guide in mind as you repair your system or investigate possible replacements, and don’t forget to account for a margin of error with each component. Keep in mind that troubleshooting a system today won’t guarantee everything will work correctly on your next use. Troubleshooting is an ongoing process you will need to employ to ensure your system is working as accurately and consistently as possible.
Troubleshooting laser diode hardware is essential if you want your projects to go smoothly, and these tips can help you achieve that. To help reach stability with your laser diodes, you should invest in some high-quality laser diode mounts, and that’s where we at Arroyo Instruments come in. We have all the holders and other laser equipment you could ever need for your projects!
